Past Blog Posts:
No Time To Spare: Pixie House Tutorial
Filed under Art Projects, Bella's Corner, Design Team, Featured Artwork, Tutorials
 This will is the first in a series of quick projects you can make with a minimal amount time or supplies on hand. With the holidays coming up and the little darlins’ home from school, (insert scream HERE) – whatever will you do to keep them occupied? There’s just no time to spare with floors to mop, pies to bake and 5 scheduled activities to do at a time per child before I participate in a tennis tournament in the subdivision (while I’m mopping the floors). Oh wait. I was having a nightmare that I turned into a local Stepford Pod. But I digress!
With a few basic supplies you can make these ahhhdorable Pixie Houses created by the Queen of Fey herself, Nichola Battilana! Would you like to keep the kids busy and out of your hair? Or perhaps pretend that you’re a kid? Well then gather up all of the supplies needed, set them down at a table and show the kids how to make the first one. Then let the kids go at it!
Don’t you love how basic the supplies are and you’re recycling at the same time? If you’re short on toilet paper rolls, and if things are really crazy sit the kids down and make them unravel a roll or two. They’ll love it!
I think one or two of these sweet houses, paired up with with the Retro Bottle Brush Tree Sets placed on a cake stand would be soooooooo cute!
Supplies
– Paper Mache Cone – 4 Inch
– Mini Chipboard Scalloped Frames & Medallions
– Autumn Kit Extra Paper Set
– Mother Goose 6×6 Patterns & Solids Paper Pad
– Gnomes & Birds Collage Sheet
– A Apple Pie Collage Sheet
Embellishments
– Assorted Feathers
– Acorn Buttons
– Dresden Borders
– Metallic Mini Brads in 2 Colors
– Glue
– White Paint
– Toilet paper tube (adds stability)
Directions
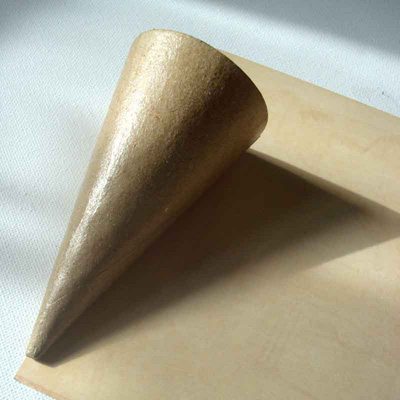
Using THIS template, cut out and apply your paper of choice to a Paper Mache Cone. NOTE: if your paper is not staying in place while drying, use a clothespin to secure the edge as it dries.
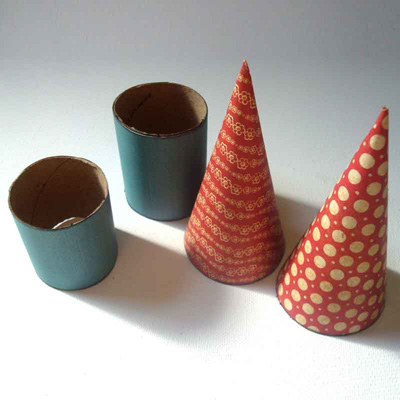
Now apply your building color to the toilet paper tube. (Mine were covered perfectly by a 6″ x 4″ piece of paper, but double check yours for sizing.) When dried cut the tube into two unequal parts for building variation, or equally to make them uniform.
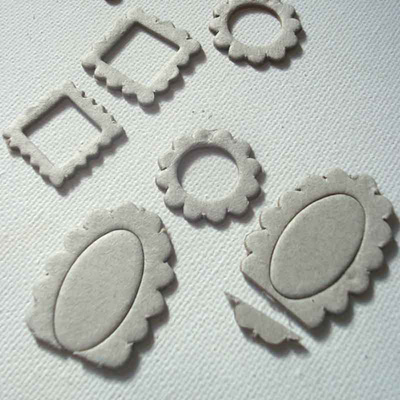
From the Mini Chipboard Scalloped Frames & Medallions I chose the large ovals and cut the bottom edge.
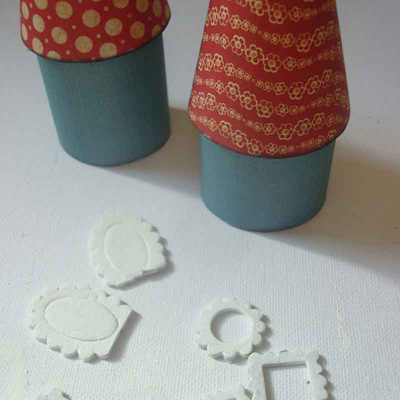
Next I painted them white with acrylic paint.
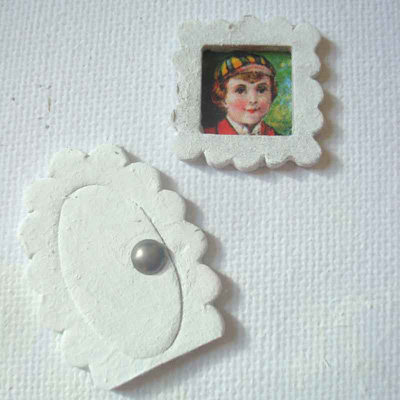
Paste images on the back of the little frames to create a scene within the window. Push a Metallic Mini Brad through the oval to create a door handle. NOTE: Create a hole with a small hole punch or needle to make inserting the brad easier.
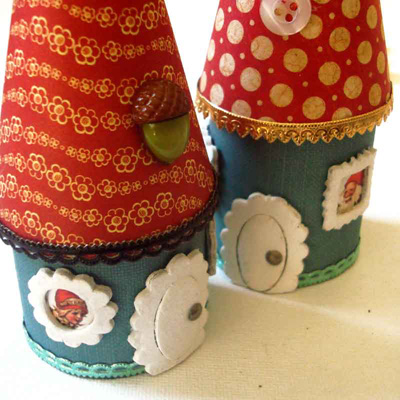
Glue the prepared cones to the top of tubes and begin embellishing! Add trims, buttons, feathers… anything you can think of. NOTE: You can gently curve the windows and doors using your finger before applying, so that they fit snugly against the ‘building’.
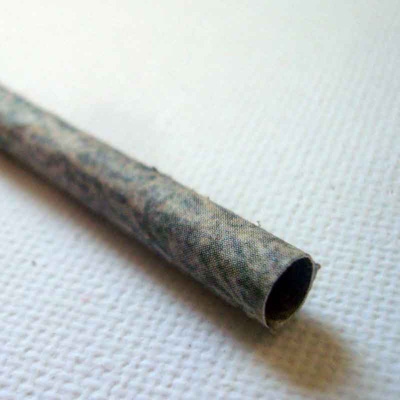
To create a chimney, make a small tight roll of paper.
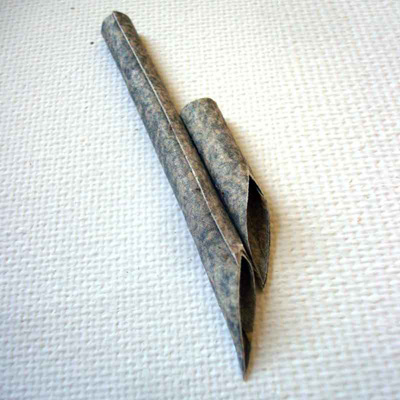
Cut on a sharp angle.
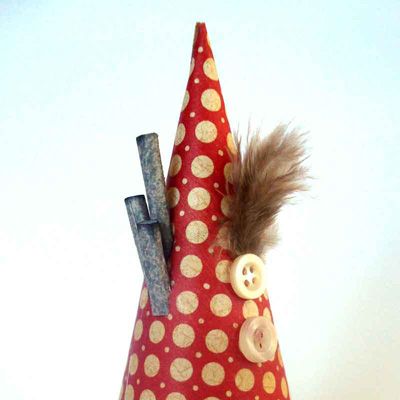
Then glue into place.
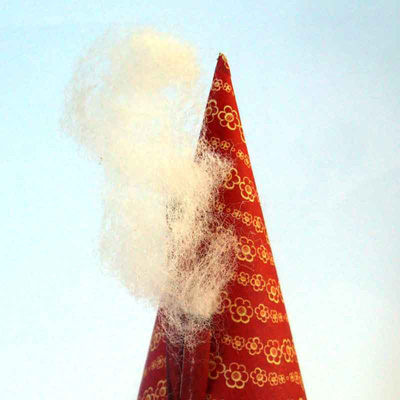
For a smoky look, push a bit of cotton batting into the tube.
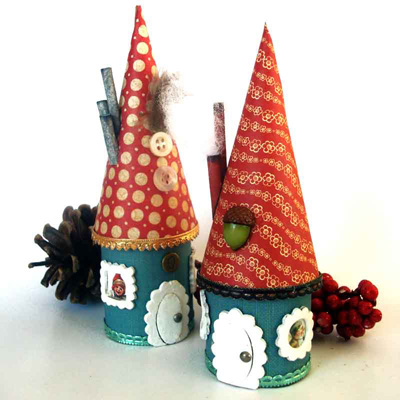
That’s it! Easy peasy 🙂
